Product Hub March 30, 2015
Cheap Trick
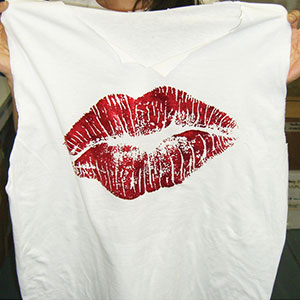
A creative T-shirt print does not have to be complicated.
Creativity, to me, is doing something with ordinary items and making them something that is special or at least interesting. In this article, we'll take a one-color design on a white shirt and change it into something that I feel is creative and that all of you can do with very little practice. This is an inexpensive T-shirt; the worst thing that can happen is it ends up as a rag to wipe a screen or used to clean your car.
The items that will be needed are a T-shirt, squeegee, plastisol ink, foil, scissors, a transfer machine and something to dry the ink. If you are a screen printer, you probably have all of these.
The design should be on the bold side without too much fine detail so the ink will be able to hold the foil easily. I like using a 25 LPI, 61-degree angle and elliptical dots when printing out raster art, work that is done in Photoshop. If the design is done with vector art using Adobe Illustrator or Corel Draw, the only thing to make sure of is to not have very fine detail.
In order to be able to print the design and not have to flash and put down a second layer, use a coarse mesh screen. For this project, an 86 mesh with 100 micron thread was used. Using a 110 mesh with 80 micron thread allows for a little finer detail and is also recommended. With either of these mesh counts, a double print stroke is recommended whether printing with a manual or automatic in order to get a good deposit that will hold the foil well.
The proper squeegee is critical to getting a good deposit. It should be soft, sharp and straight so that a lot of ink is laid down with minimal pressure. The squeegee used for this article was a 55/90/55 durometer blade and could bse used on a manual or automatic press. Other options when printing with a manual would be a 65 durometer blade; 65/90/65 would work well on an automatic.
Here are the steps (thanks to Scot Smith of Rocky Mountain Apparel in Denver for use of his shop):
Since we will be using red foil, we are using high-opacity red plastisol ink (Step 1 – on next page). Use a firm flood stroke so you can see the image that will be printed. This will load the screen, making it easier to deposit the ink without using excessive pressure (Step 2). Push the squeegee by holding it low at the back of the screen and leaning forward. Not only is this an easier way to print, but it's ergonomically better for you.
After you've printed it, the print should look good with all the detail showing. Once done, run the shirt through your dryer or use your heat gun (Step 3). It is not necessary to fully cure (fuse) the ink since we will be applying the foil and the temperature from the transfer machine will cure it.
After the ink on the shirt is made dry to the touch, place the shirt on the transfer machine. Select the foil to be used. Position the foil over the print (Step 4). When working with foil, remember, to get the color, you have to see the color. Cover with a Teflon sheet (Step 5). Move the head of the transfer machine into place and apply the pressure. I like to use 365 degrees for about eight seconds with medium pressure. Slide the Teflon sheet off so the foil doesn't lift. Let the foil cool down before removing it. Cool foil releases better than hot foil, but that doesn't mean you can't hot peel. Peel the foil off (Step 6). You will know if it transferred well when you look at the sheet of foil that was peeled off. There should be clear areas where the solid part of the print was.
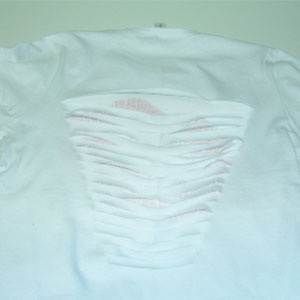
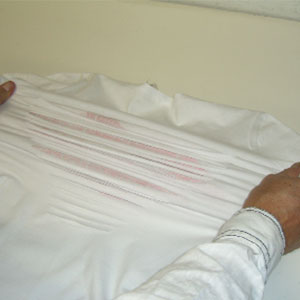
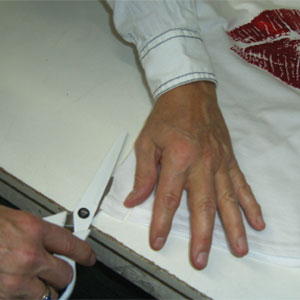
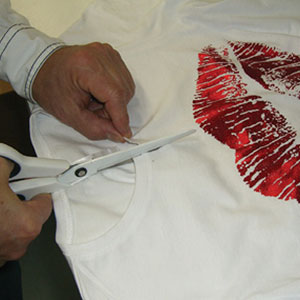
Now take the shirt and fold it in half through the middle from top to bottom (Step 7). Lay it on a flat surface and with a sharp pair of scissors, make a long cut several inches down from the collar. Make cuts that get progressively shorter and are about ¾" apart (Step 8). Open the shirt and lay it so the back is flat (Step 9). By pulling the shirt on either side of the cuts, the cut pieces will curl (Step 10). Once all the cut parts are curled, we are ready to weave them.
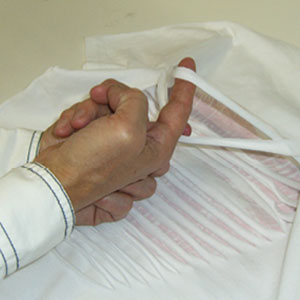
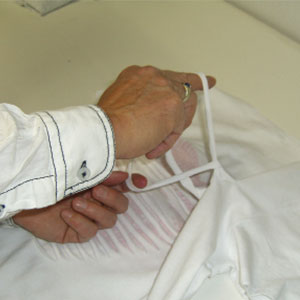
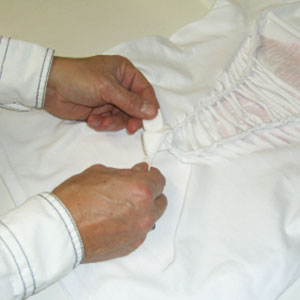
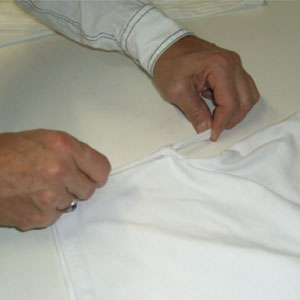
Take the top piece and gently pull it towards you. Take the next piece and pull it up behind and then over the first piece (Step 11). Pull the next piece through and over the second piece pushing the first piece out of the way (Step 12). Continue doing this until you reach the last piece. Hold the last piece together with the next to last piece. Take a piece of ribbon and tie the last two pieces together (Step 13). Make a cut about an inch in and three to four inches long on either side of the shirt (Step 14). Then split that in half so you have two long pieces. Pull on the two pieces so they curl. Gently tie the two pieces into a knot (Step 15). Flip the shirt over and put a cut through the collar and you're done (Step 16).
Using an extra-large shirt makes for a nice beach cover-up. Cut a series of small cuts and pull on them to make them curl. Cut out the collar, cut off the sleeves, fringe the bottom and you're done (Step 17).
Charlie Taublieb is the founder of Taublieb Consulting and a member of the Academy of Screen & Digital Printing Technology. Contact him through www.taubliebconsulting.com or call him at (303) 290-8009.
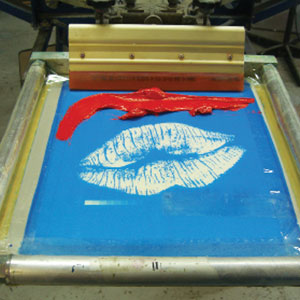
Step 1
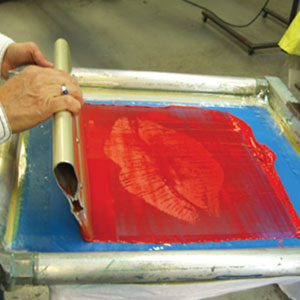
Step 2
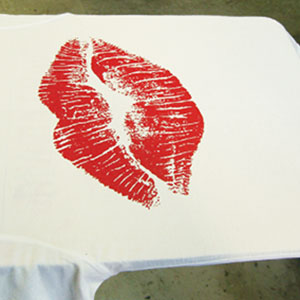
Step 3
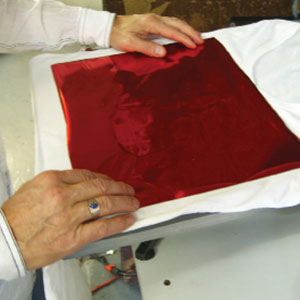
Step 4
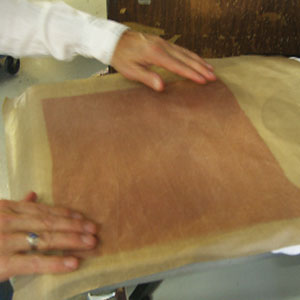
Step 5
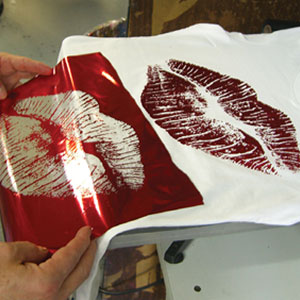
Step 6
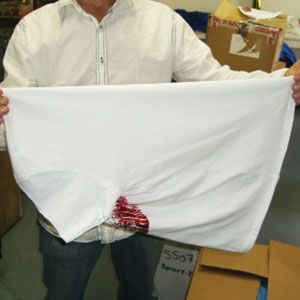
Step 7
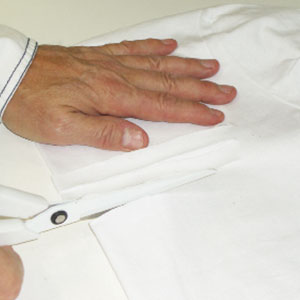
Step 8
Step 9
Step 10
Step 11
Step 12
Step 13
Step 14
Step 15
Step 16
Step 17
Continue to Cost Control Go Back to It Takes Imagination

Product Hub
Find the latest in quality products, must-know trends and fresh ideas for upcoming end-buyer campaigns.